Quickly Design an Awesome Rack Card
Rack cards are an excellent low-cost marketing mechanism for a wide range of business. They are heavily used by the tourism industry and those in the services business.
The most important facets of a successful rack card are:
1. Eye-catching design - Rack cards are usually placed in a rack along with many more cards from other business, and you want your card to stand out. You should use vibrant colors and vivid imagery to draw viewer attention.
2. Placement location - You want to place your card at a location frequently thronged by your target customers. If you do this, you stand a good chance of converting some of them into paying customers. For example, a museum rack card placed at an airport lobby might entice some of the arriving fliers to plan a visit. Similarly, a salon rack card promoting spa or massage service when placed at a nearby hotel lobby would work well.
3. Simple, with a clear call to action - Viewers will most probably look at your card for a moment, so you don't want to bombard them with a lot of information. A short and precise message, address and contact details, and a definite call to action will clear any doubts in the mind of the viewer, and they will know the next steps to avail your service.
But, how do you design an excellent rack card without spending much?
In this article, we will use the simple EzeeGD software to make a Rack Card. We will also provide you with a downloadable template for this design. A short video towards the end of this article explains the steps used to design our sample Rack Card.
After going through this article, anyone would be able to come up with beautiful rack card designs for all purposes - no design experience or expertise is required!
Before we get started, please download and install EzeeGD. It takes less than a minute to download and complete the installation. Download here.
Tip: As in all marketing, you want to target the right customers with your rack cards, so precise placement location of the cards is a must. If you're a services business with a tiny per customer revenue, you should place the cards in nearby areas because most people won't travel far for a small service. You might as well consider making multiple cards and customizing them as per their placement location.
Design a 4X9 Rack Card
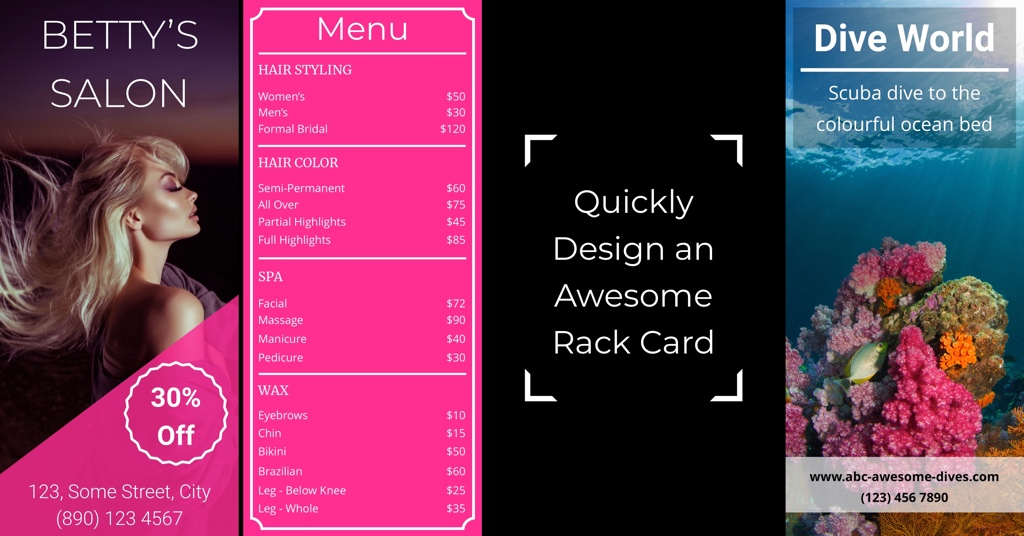
Let us now design a 4 X 9 Rack Card. The most common sizes for Rack Cards are 3.5" X 8.5" and 4" X 9" and you can make both in EzeeGD. In fact, you can make your Rack Card in any custom size. Let us design the Rack Card shown below. Once you know how to use EzeeGD, you will be able to create any other layout as well.

The following steps are also demonstrated in a short video, later in this post.
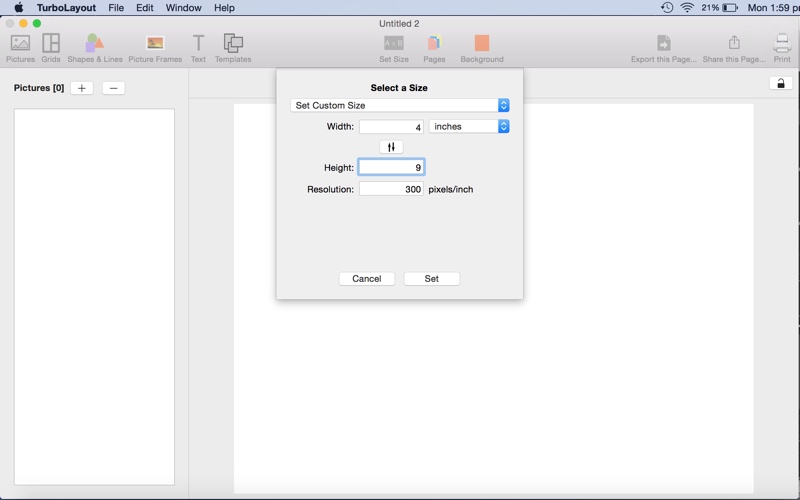
1. Open a new EzeeGD project and set 4 X 9 size for your design.
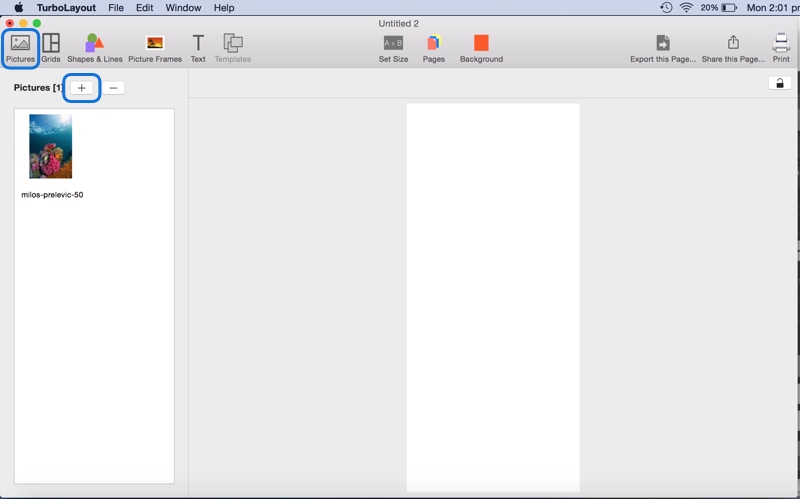
2. Go to the Pictures tab and import the picture that we plan to use in our design.
3. Go to the Grids tab and add a single picture grid. Then, position it to fill up the entire page, and set its spacing to zero. This grid will hold the background picture of your Rack Card.
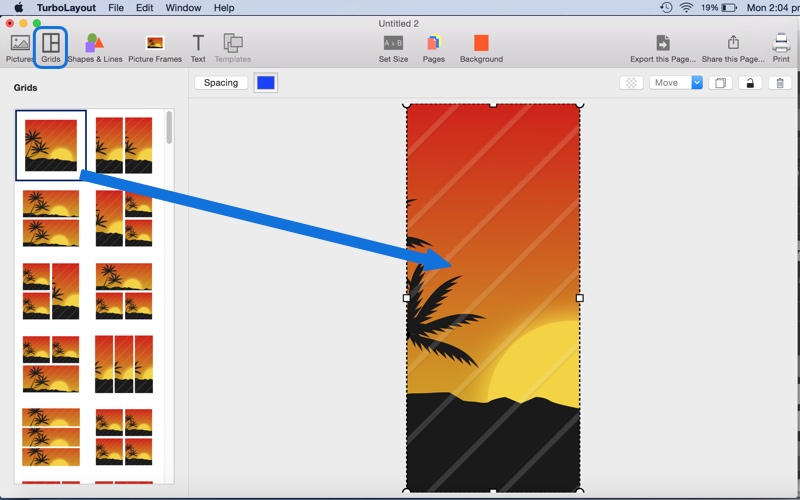
4. Go back to the Pictures tab and drag the picture that we had imported earlier to this single picture grid.

5. Go to the Shapes and Lines tab and drag a couple of color filled rectangles onto the drawing canvas. Position them and set their fill colors as shown in the screenshot below.
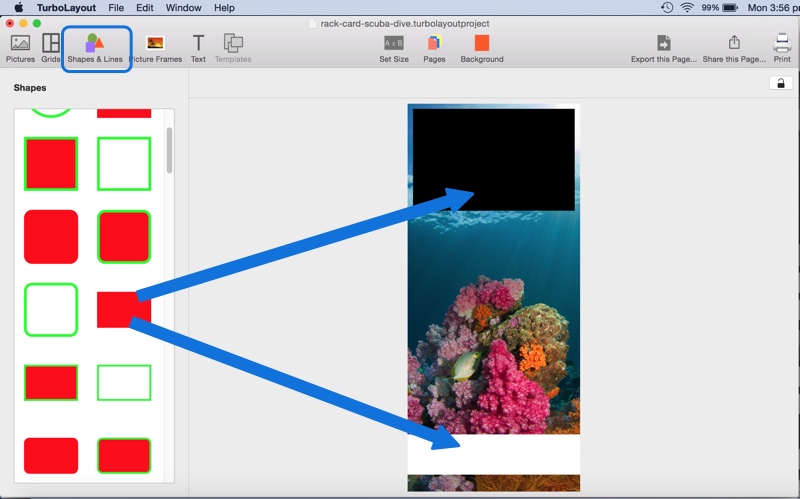
6. Change Opacity of these rectangles as shown in the screenshot below.

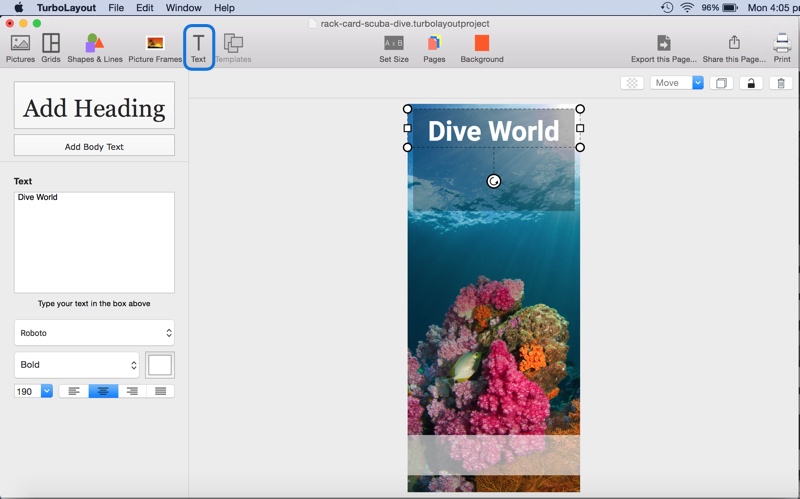
7. Go back to the Text tab and add a heading text as shown in the screenshot below.
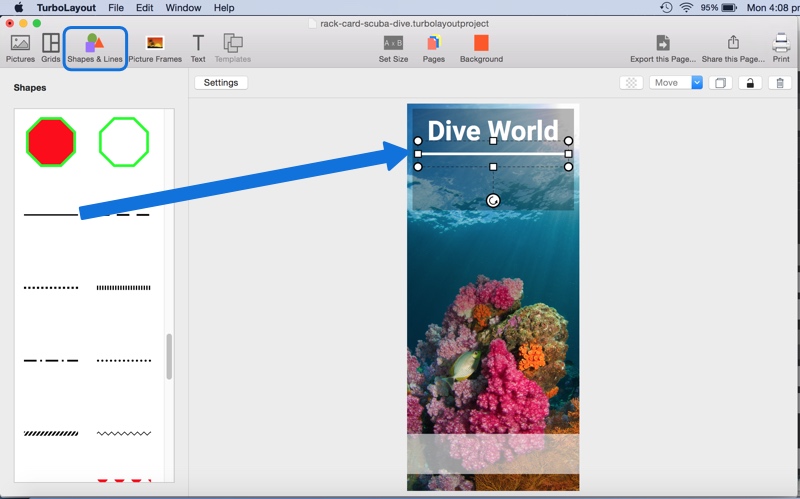
8. Go to the Shapes & Lines tab and add a line and position it as shown in the screenshot below. Change its color to white.
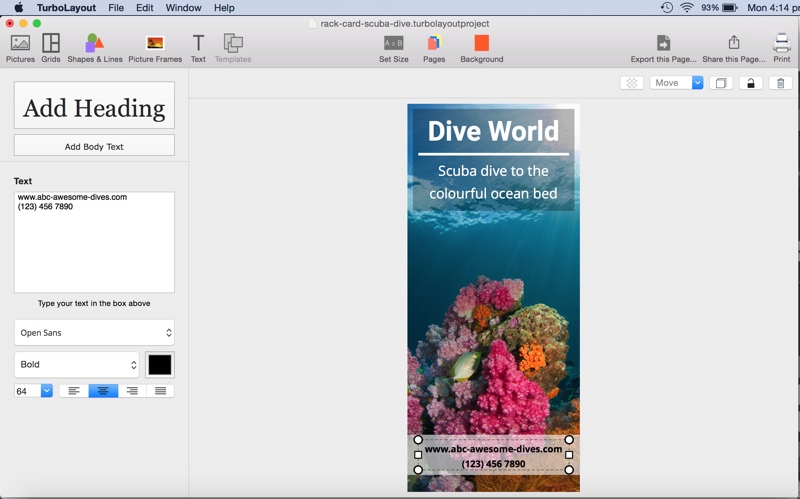
9. Add more text to complete our Rack Card design.
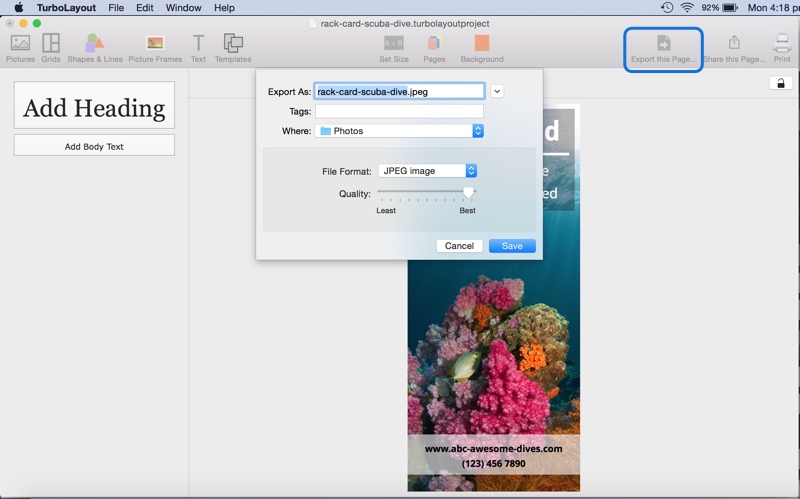
10. Your Rack Card design is ready! We will now export it as a JPEG image. Apart from JPEG, you can also export the design in PNG or TIFF image formats.
11. You have completed the tricky part of designing your Rack Card! Now, you can also get it printed from one of the online Rack Card printing services.
Want to see the above steps in action? Here's a short video:
(Note that the software has been renamed to “EzeeGD.”)
Spend a little time learning EzeeGD, and you will be able to make eye-catching graphic designs for your business.
Don’t forget to send your comments and suggestions to ezeegd@silkenmermaid.com.